Alright its not a secret recipe that dates back 100 years. But Many people that eat my chili want to know how I make it. So whats behind all of the fuss you ask?! Nothing really, just a lazy mans dinner that turned out being very flavorful.
I didn't have much for groceries one day and decided to throw something together. I dug around the freezer and pantry and ended up having enough to throw together for a chili, I didn't know it was going to turn into greatness. But I take credit when I can get it.
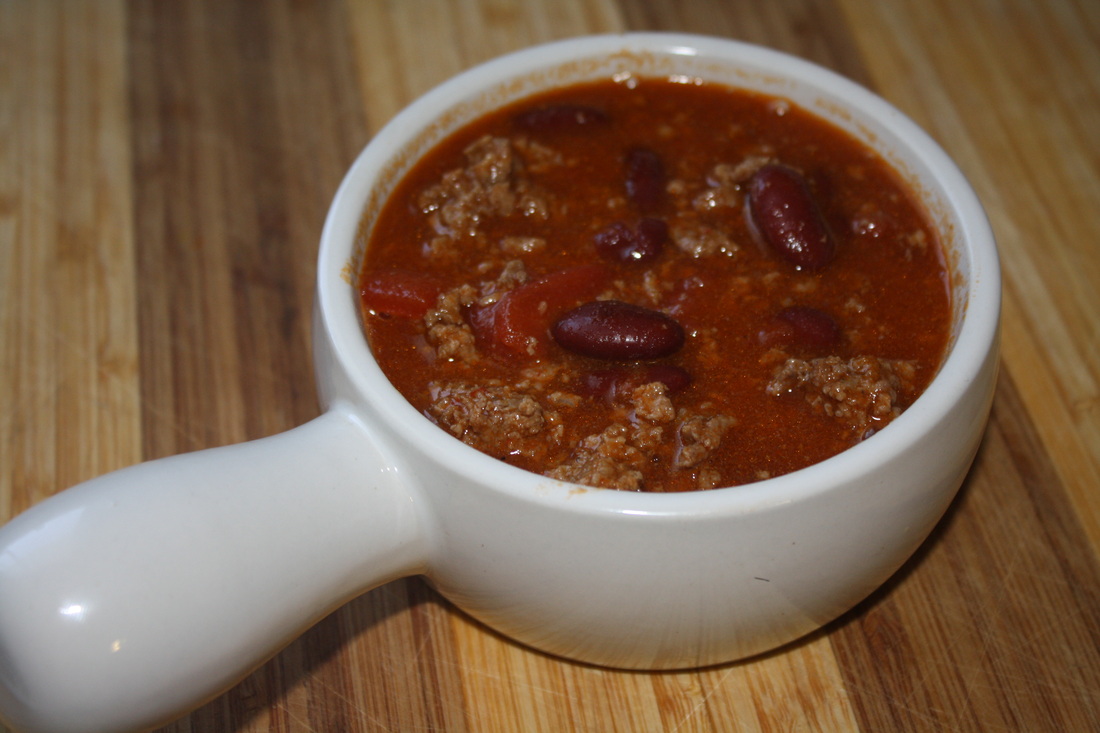
Chili, the lazy mans dinner
Ingredients
2lbs medium ground beef
6 hot Italian sausages (squeeze out of casing)
1 can San Marzano tomatoes (around 800g)
1/2 cup tomato paste
1/4 cup ketchup
1/2 cup molasses
1/4 Cup extra virgin olive oil
1 can red kidney beans
1/4 cup franks hot sauce thick (put that sh_t on)
2 tbsp red pepper jelly
1 tbsp chili powder
1 tsp red pepper flakes
1 tbsp salt
2 tsp pepper
Instructions
1. Using a dutch oven, heat the olive oil over medium heat, brown the ground beef and sausage until cooked all the way through. Secret tip - DO NOT! drain off fat, that is all your flavor!
2. Mix in the San Marzano tomatoes, tomato paste, hot sauce, ketchup, molasses & 2 cups water. Simmer for 1 hour on a low heat.
3. After the first hour of simmering. Add 2-3 Cups of water, the kidney beans, jelly, and all of the dry spices. Simmer on a Low heat for 1-3 hours. Until the beans are cooked. Season with salt and pepper.
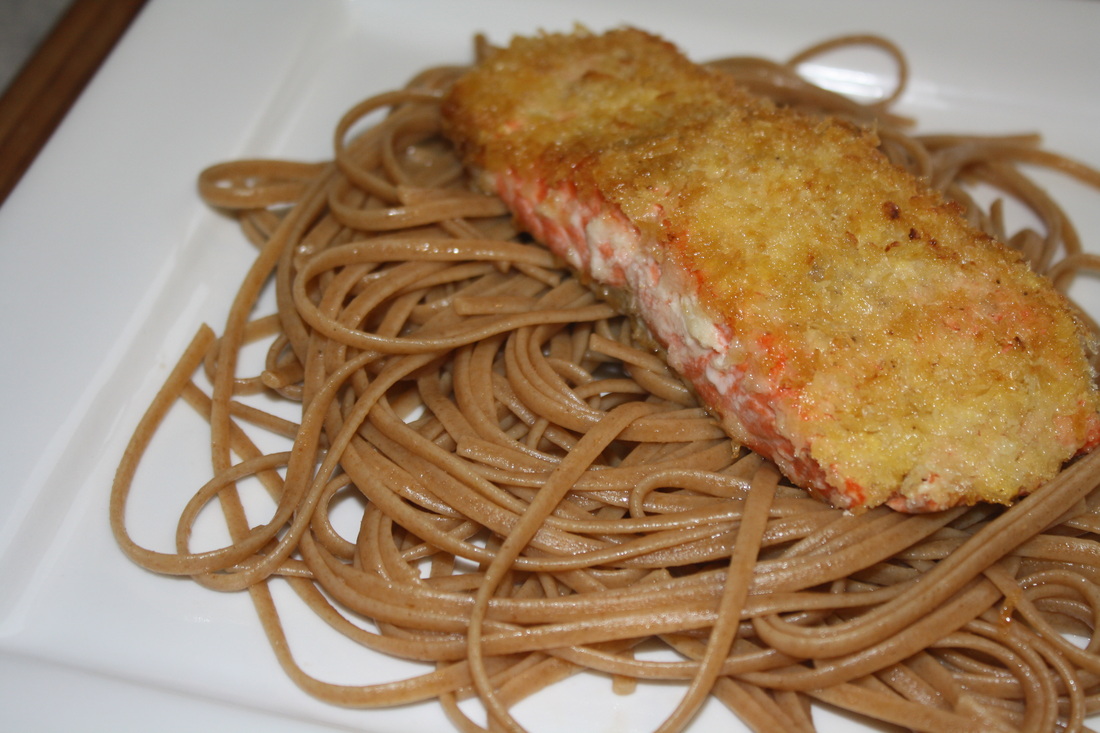
This is amazing! Wild caught, sockeye salmon off the coast of BC. I was fortunate to pick up a few lbs of it fresh. My brother in law is luckily for me the manager of the meat department of Pete's Frootique.
Yeah, you should be jealous. Ingredients (per fillet)
1/4 Cup panko bread crumbs
1 Salmon fillet, 8-10 oz
2 Tbsp dijon mustard (a good dijon mustard)
Salt & Pepper
olive oil
Red Wine Reduction
1/2 Cup of your favorite red wine (not cooking wine)
1/4 Cup brown sugar
Instructions
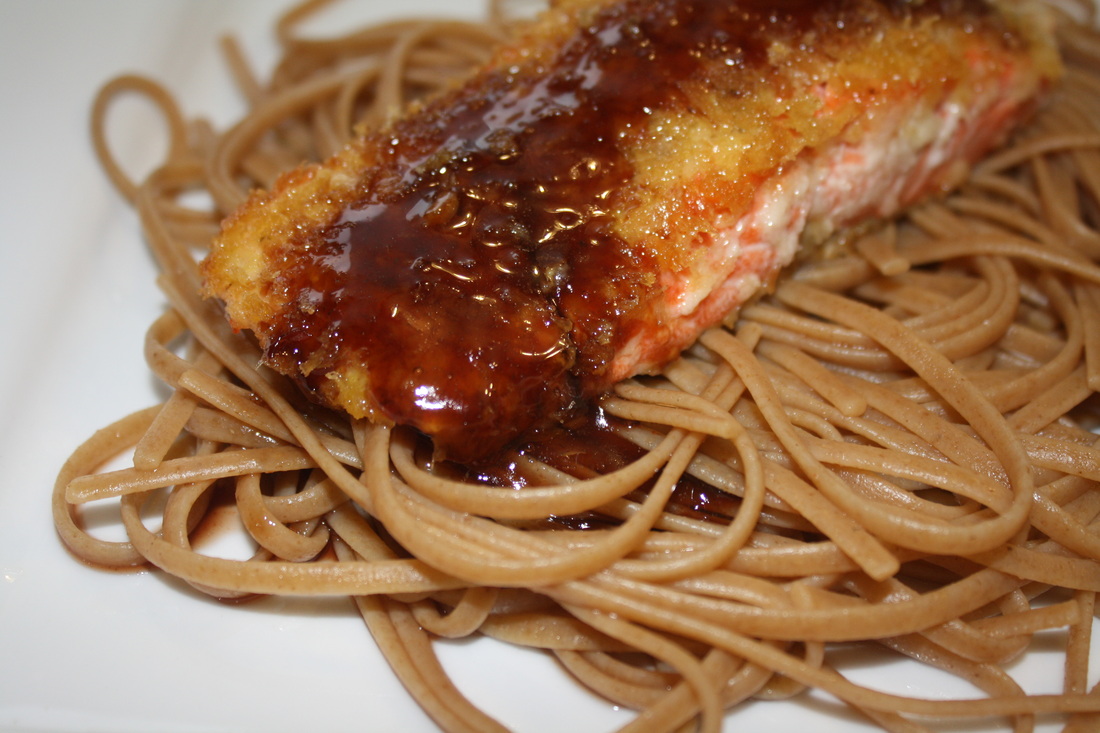
1. Start with the red wine reduction, the longer it sits it will thicken into an amazing glaze to top your fish. In a sauce pot over medium high heat, whisk the red wine and the brown sugar. When it starts to thicken, remove off the heat, it will thicken the rest of the way on its own while you prepare everything else.
2. Heat olive oil over medium heat ( I prefer a stainless steel saucepan)
3. Rub the salmon fillet with dijon mustard and season with salt and pepper
4. Coat both sides with the panko bread crumbs. Cook in pan until golden brown. Mine took only 2-3 minutes per side.
5. Top with Reduction Greatness!
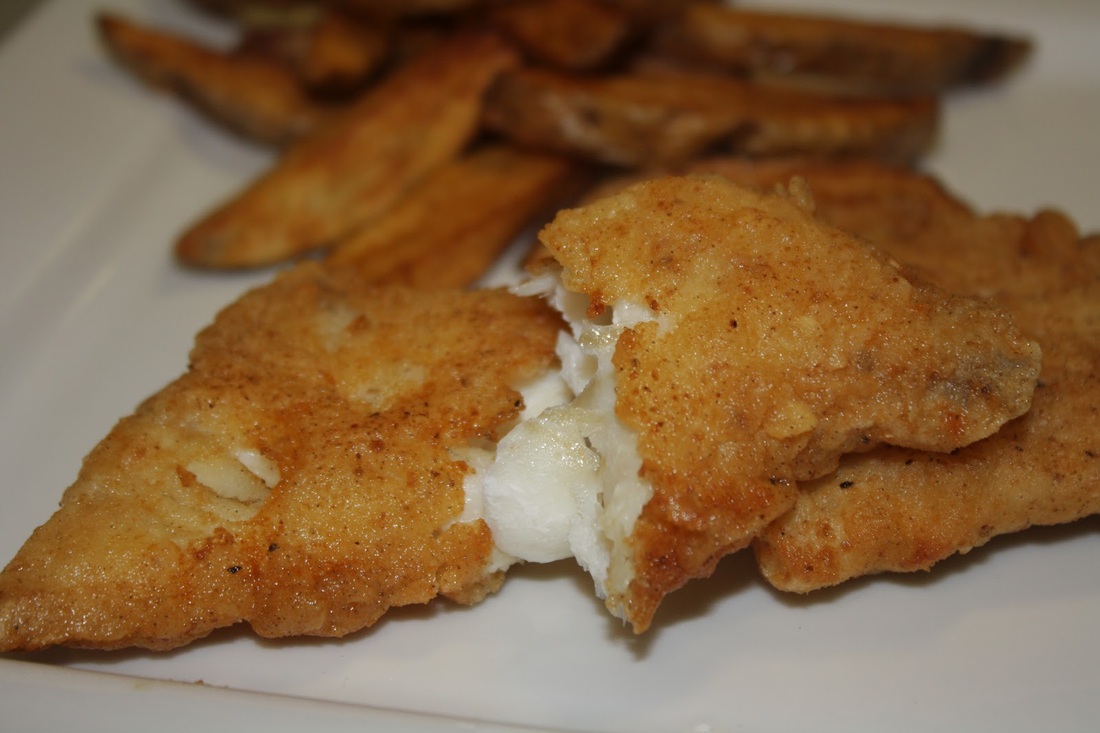
You have lots of time to start and finish the fish while your fries are finishing in the oven, so no rush. Because I felt like being a bad a_s, I made a beer batter for the fish. This can get messy but its worth the clean up. To cook the fish, use the same Shortening the fries have already cooked in. But instead of using a low heat, I turned it up on medium. Surprisingly deep fried fish can be tricky to cook. you want a crunchy but not burnt batter on the outside, but a soft moist batter on the inside. And of course you don't want to over cook your fish, you want it moist and flaky, but no pressure!
Beer Battered Fish
Ingredients:
2 haddock fresh haddock fillets from the South Shore! not bragging though!
1 Cup of rice flour
1/2 Cup panko bread crumbs
1 tsp paprika
1 tsp cayenne pepper
1 tsp salt
1 tsp ground pepper
1/2 Cup of cold beer, your choice of brand (I like a dark beer, gives the batter a deeper flavor)
Instructions:
1. Mix all of the dry ingredients together in a bowl and divide into half. Keeping half of the mix in the bowl and the other half on a plate.
2. Pour the beer into the bowl with the flour mix and combine into a wet batter.
3. I find it easier to work with smaller pieces of fish, so I cut my fillets in half. Dip the fish into the beer batter then transfer to the plate and coat with the dry batter. Once all the fish has been battered place gently into the already hot vegetable shortening.
4. My fish only took about 2 Minutes per side and it came out perfect!
5. Don't forget about your fries in the oven & Enjoy!
Fish and Chips are a Favorite of mine! I don't encurage deep fried foods, but fish and chips rise above the rest. And I'm not trying to say eat it 5 times a week, because I'm not. But if you keep the ingrediants fresh, its a nice treat to have. Fish and Chips are a classic! But there is nothing worse than getting this deep fried favorite, and having it ruined by bad fries. How can you screw up fries?! It happens more often then not. But if your making it from home, I can help.
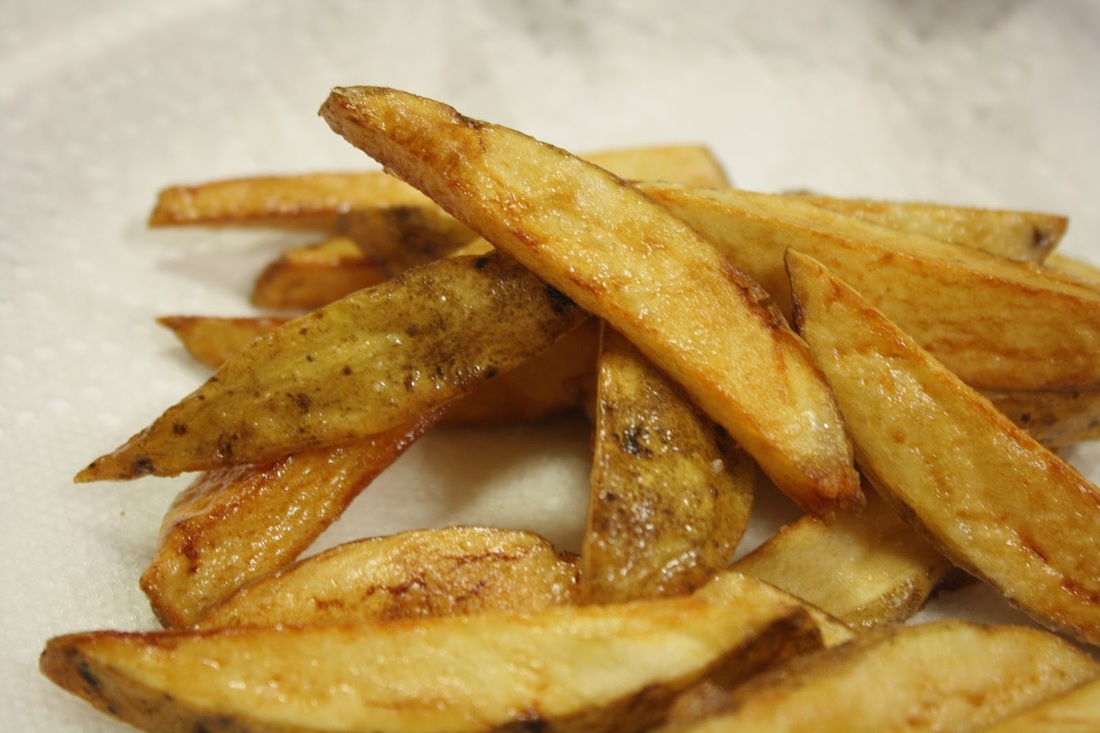
These home fries are slowly deep fried and baked in the oven to finish. Seasoned lightly with sea salt and served hot! These fries are at they're best when right out of the oven, with that crunchy outside and fluffy soft center.
Fries Cooked Twice are so Nice!
Ingredients:
Small Package of Vegetable Shortening 454g or about 1 Lb.
I used local PEI Spuds! only the best. But if you had to use something else thats ok too.
Salt to taste
Instructions: (on the stove stop using a heavy Pot or a Dutch oven)
1. On medium-low heat, melt the shortening into liquid
2. Clean & Cut the Potatoes into desired shape, but I find wedges work best/ skins left on
3. Place the cut potatoes into the shortening and fry them for about 10 minutes.
4. Using a slotted spoon, spoon the wedges out onto paper towel to dry off. Preheat the oven to 350f, spread the wedges over a baking sheet and bake until golden brown! Season with salt and enjoy.
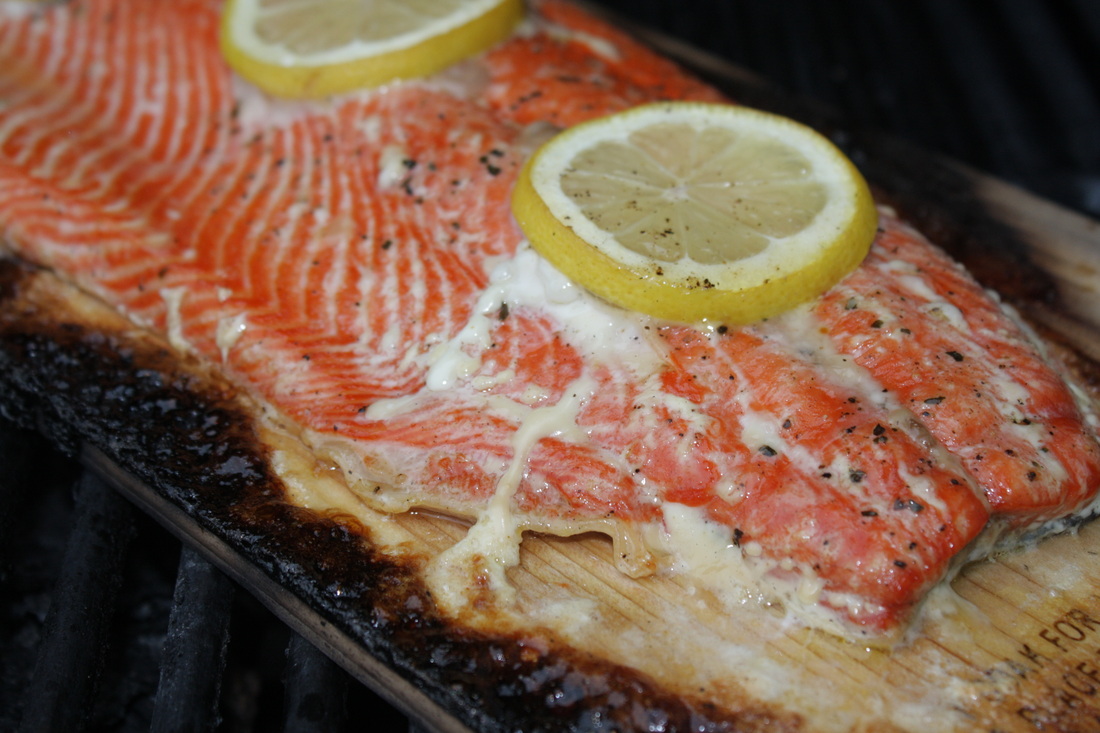
If you have never grilled on a cedar plank before, don't be afraid. I was always nervous that my food was going to taste like wood. But the extra flavor from the plank was mild but so worth it!
It was easy to grill on the plank. I had a spray bottle handy just in case it caught fire, but i didn't end up needing it.
Cedar Mapled Salmon
Ingredients:
Salmon Fillet (I used wild sockeye! So beautiful and red)
Cedar Plank
1 Lemon
Maple Syrup
Salt and Pepper
2 Tbs olive oil
Instructions:
1. Follow the instructions on soaking the cedar plank. Mine Called for 2 hours of soaking, but I did 4 just to be sure I wasn't going to start a fire.
2. Marinate the Salmon with a 1/4 Cup of Maple syrup for at least 1 hour, overnight is best.
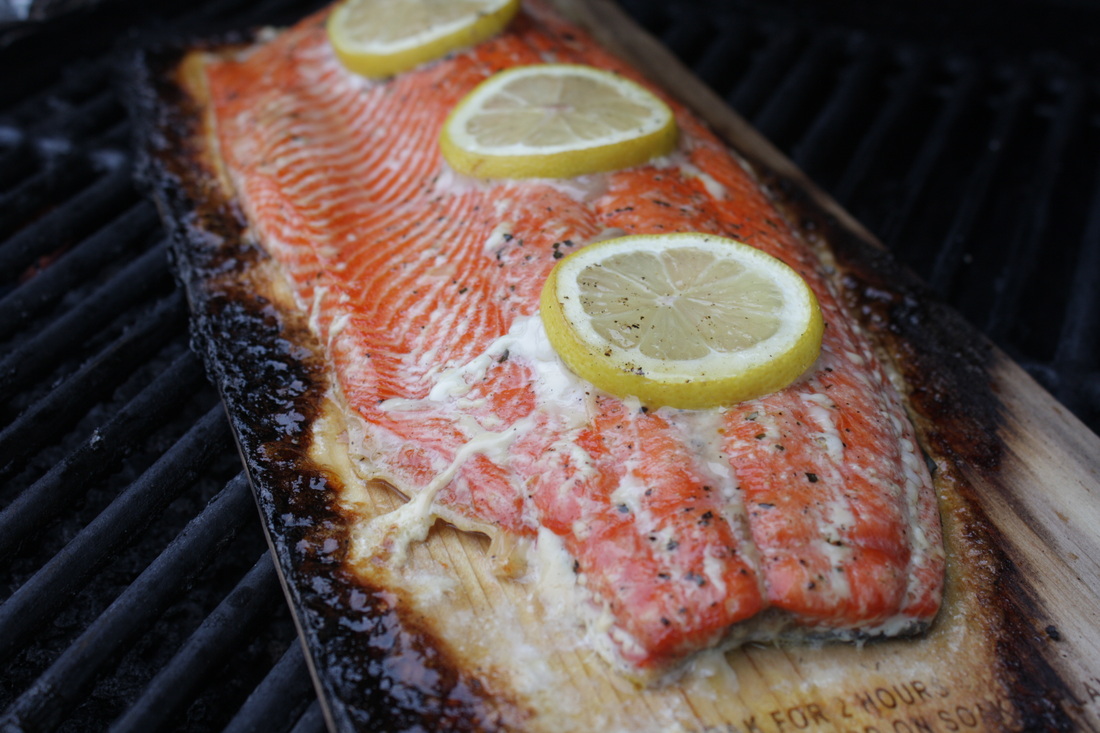
3. Place the salmon on the cedar plank. Brush some olive oil over top and season it with salt & pepper, top it with a few slices of lemon
4. Heat the BBQ on a medium heat, once preheated mine only took about 15 minutes to cook.
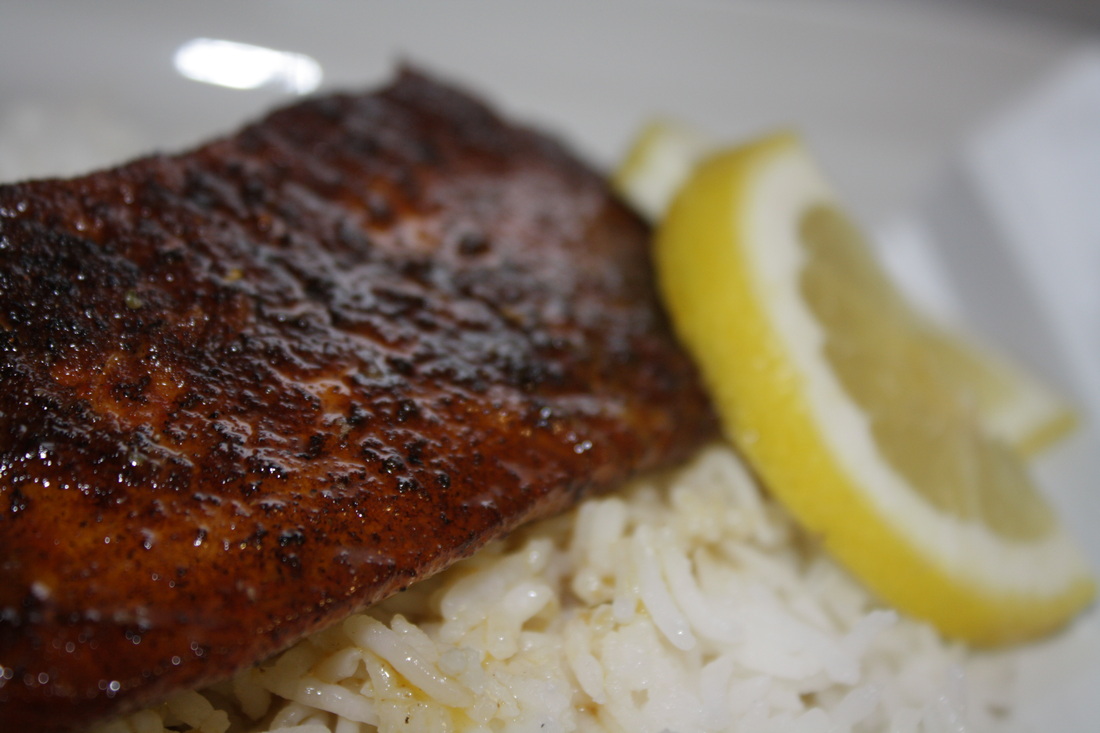
Nothing says Summer Time like Blackened seafood here in the Maritimes. So on this beautiful first day of Summer why not make some. I like using this method on white fish. But lets clear something up before we go any further.
People say that white fish is all the same, taste's the same, looks the same, smells the same. Well it's not!. If you think haddock, halibut, tilapia, cod, swordfish, and all other white fish smell the same. Then I hate to be the one to tell you, your fish isn't very fresh!
But to be fair, white fish typically has a mild flavor that can't compete with salmon or trout. But on the bright side, you can season your fish and have it taste as good as you want!
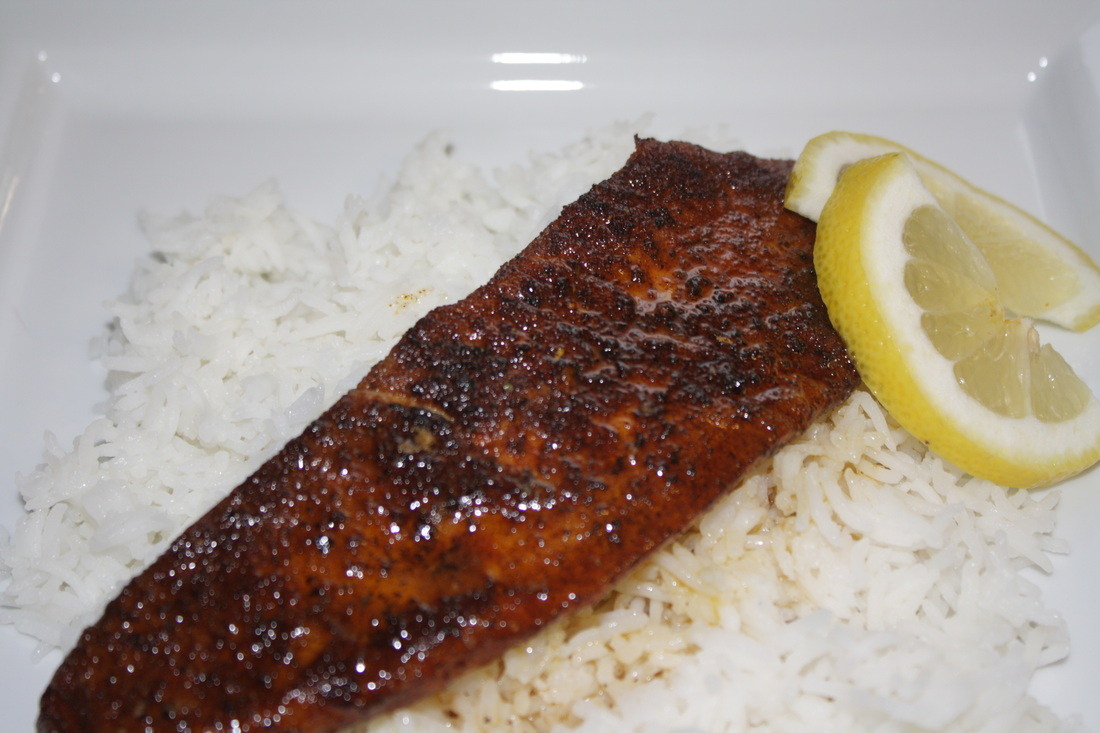
Blackened Tilapia with an easy butter lemon sauce
Ingredients:
2 Tilapia Fillets
1/4 Cup Olive Oil for frying
For the Seasoning:
1/4 Cup of smoked paprika
1 tsp cayenne pepper
1 tsp garlic powder
1 tsp onion powder
1 tsp salt
1 tsp ground black pepper
1 tsp Chinese 5 spice
1 tsp ground oregano
For the Sauce:
Original Oil the Fish cooked in
Juice from half a lemon
1/4 Cup Butter
1/4 Cup Chicken stock
1 Tbs White Cooking wine
1. Pat the Tilapia dry with paper towel. Mix all of the ingredients together for the seasoning. Pat the Tilapia down with the seasoning. Using the back of a spoon worked best for me.
2. Place the olive oil in a stainless steel pan large enough for both fillets. Heat the oil on medium heat until almost smoking. Place the fish in the pan and cook 3 minutes per side. Try not to flip the fillets because you want to keep as much of the seasoning on the fish. Set a side when done.
3. Add the wine and deglaze the pan. Add the chicken stock, lemon juice, and butter. Simmer and reduce the sauce to half. Pour over fish and enjoy!
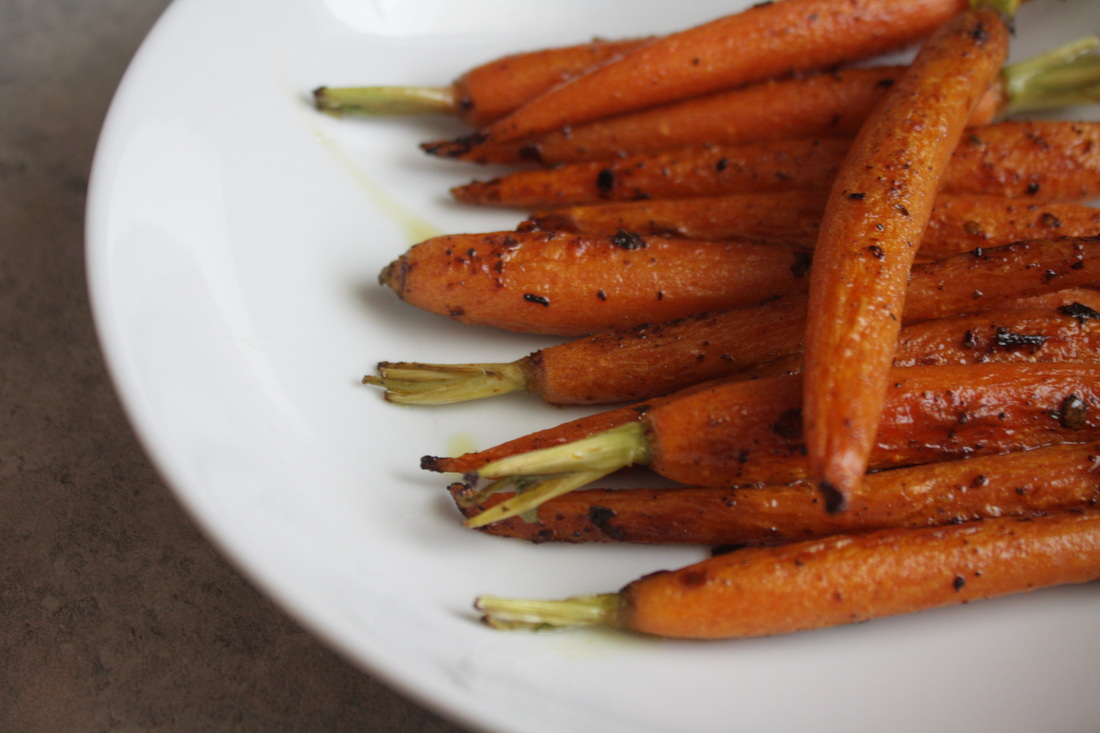
Tired of Eating the same tasteless steamed vegetables?
Then be prepared to test your taste buds! These roasted carrots are simple to make, and sure to be a favorite at the kitchen table. It's easy to eat all of your veggies when they taste this good.
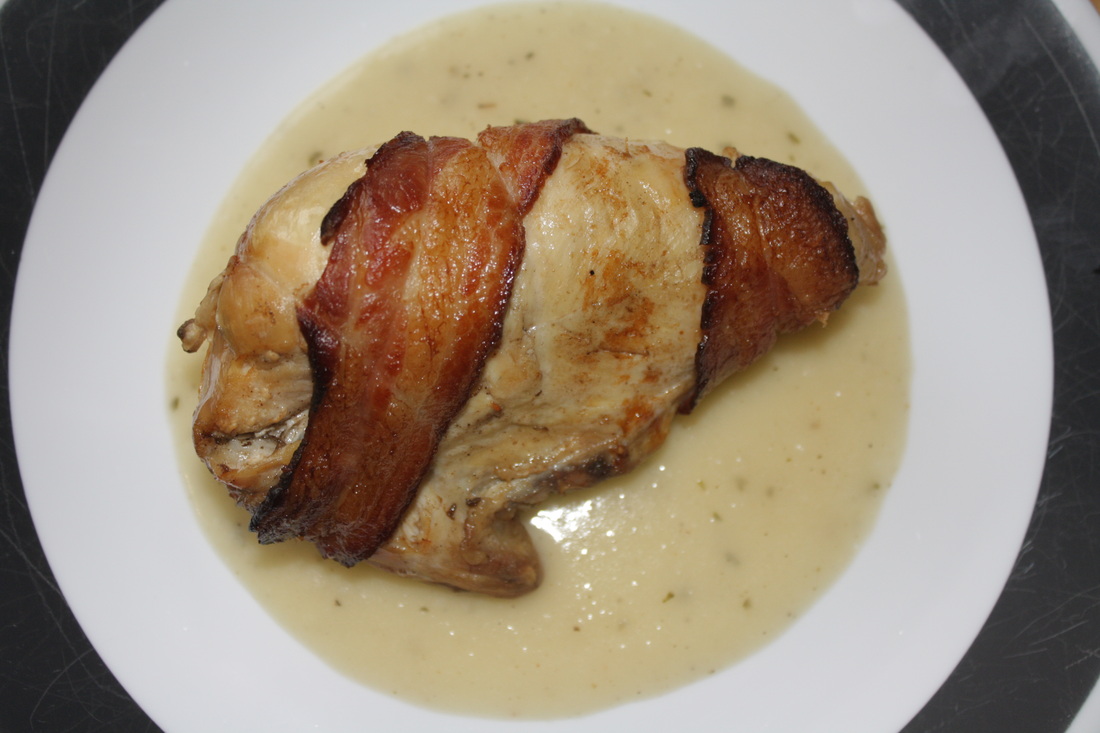
Have you ever heard the expression "everything is better when wrapped in bacon". Well its the truth!
And this rotisserie chicken is no exception. The only thing that made this even more spectacular was the chicken gravy, and it's so easy to make! and has amazing garlic flavor!
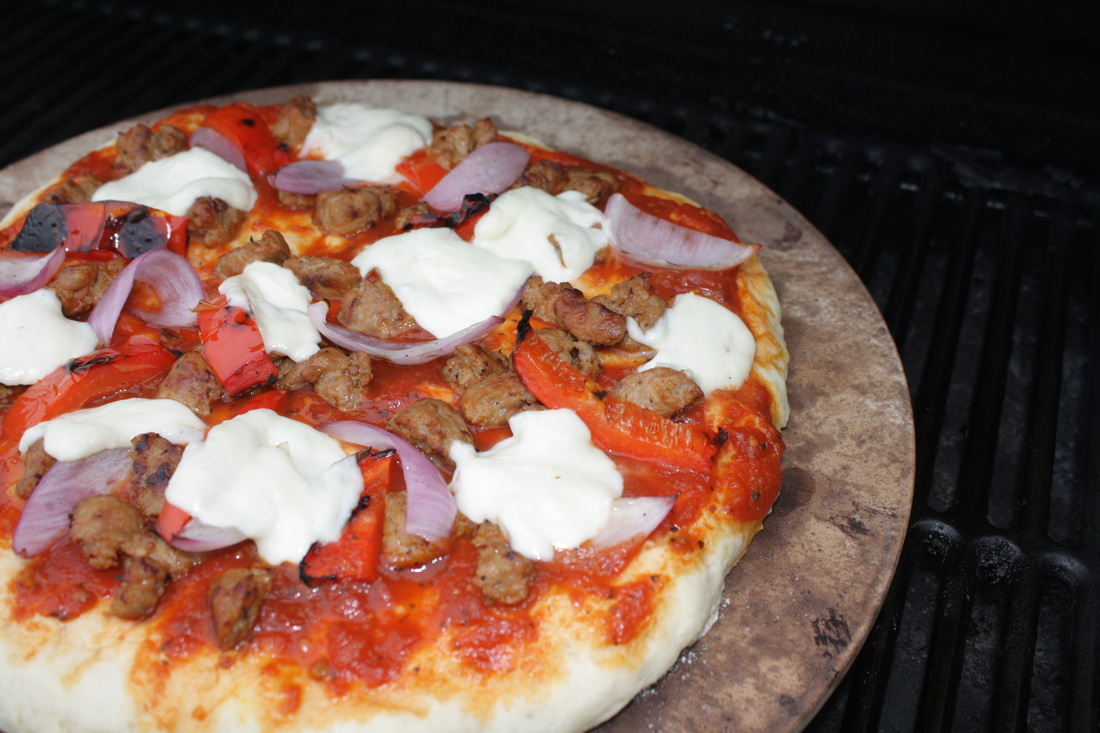
Happy father's day to me! This Pizza was cooked on a pizza stone in the BBQ. The idea come's from a friend (foodfigure.com).
Although my BBQ isn't as hot as a brick oven, it does get warmer then my kitchen oven. I was very impressed with how well the dough cooked evenly, and fast. You can use any dough and sauce you want. My recipes are coming soon! Spicy Sausage BBQ Pizza
Toppings:
Hot Italian Sausage
Red Pepper
Red Onion
Real Mozzarella Cheese
Pizza Sauce
1 Tbs Olive Oil + more for brushing
Instructions:
1. I always start with making the Dough, it takes the longest (mine about 1 hour to rise).
2. While the dough is rising. Squeeze the Sausage meat out of the sausage casing. Heat some olive oil on low heat and pan fry the sausage meat while breaking it up into smaller pieces at the same time.
3. Place Vegetables on the BBQ and brush lightly with oil until they are roasted to preferred doneness.
4. When the dough has risen. Place a Pizza stone on the BBQ and turn it up as high as it will go. On a lightly floured cutting board shape your pizza dough. Add your sauce and toppings.
5. Slide the Pizza onto the hot Pizza Stone. My BBQ got as high as 650f and it only took about 6 Minutes to cook.
The crust turned out amazing! Crunchy on the outside soft on the inside.
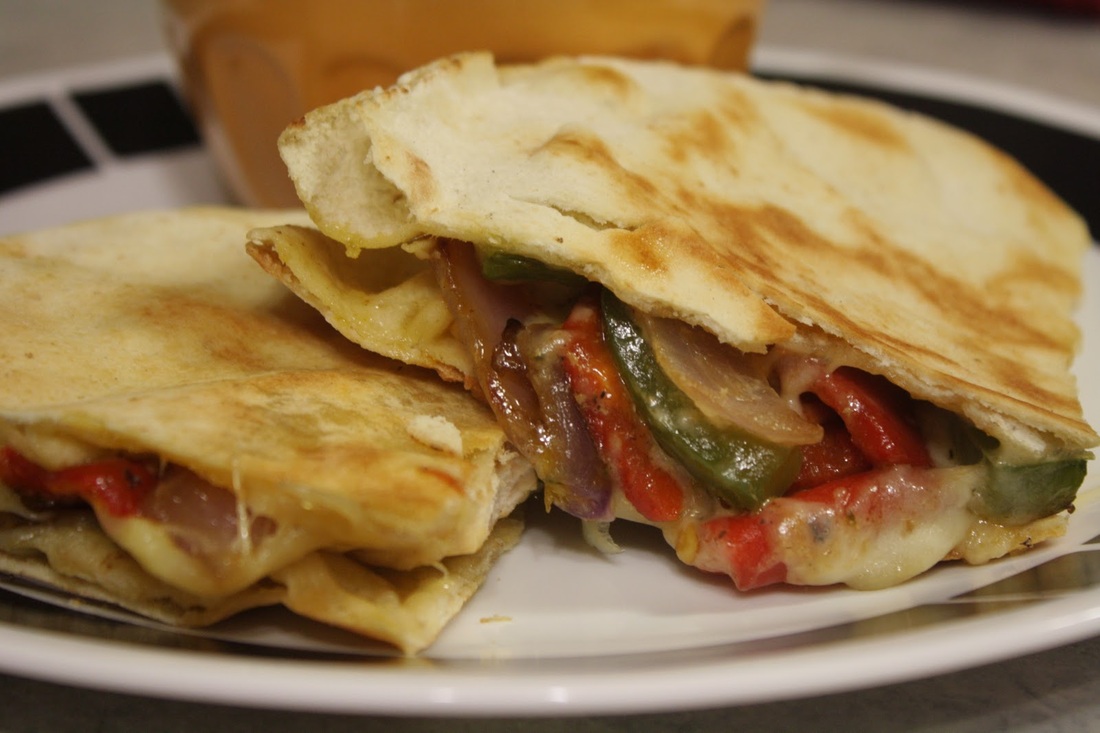
Quesadilla's are one of my favorite versatile things to make and eat. Because at the end of the day no matter what is between those 2 tortilla breads (Pita in my case) it's still called a Quesadilla.
Food with flexibility is my kind of meal!
|
 RSS Feed